


")


If you are truly serious about ranking on search engines like Google, Yahoo, and Bing, along with attracting organic traffic, then optimizing your Showit website blog for SEO (Search Engine Optimization) is critical to your business marketing strategy. This step-by-step tutorial for blogging basics and optimizing your blog post for SEO is your answer! Incorporating a WordPress blog into your Showit website allows you to produce more content for your industry, showcasing your expertise and consequently increasing your visibility to search engines. With Showit, you benefit from an elegantly designed, on-point website and the technological power of a WordPress blogging platform!
The Basics of Blogging on Showit
Showit is a website platform that allows you creative freedom in design, with WordPress as its content management tool used at the back-end to upload your blog posts – Your blog theme is designed in Showit, and you write the actual blog posts in WordPress. It couldn’t be simpler or more convenient!
To begin blogging, aka writing and publishing a blog post, you will need a fully designed Blog Index Page, Single Post Page and Category Page template on your Showit account and a domain connection to your blog. Domain connection is done at the back end by the Showit support team on your request. Once your page designs and blog domain is connected, follow the steps below.
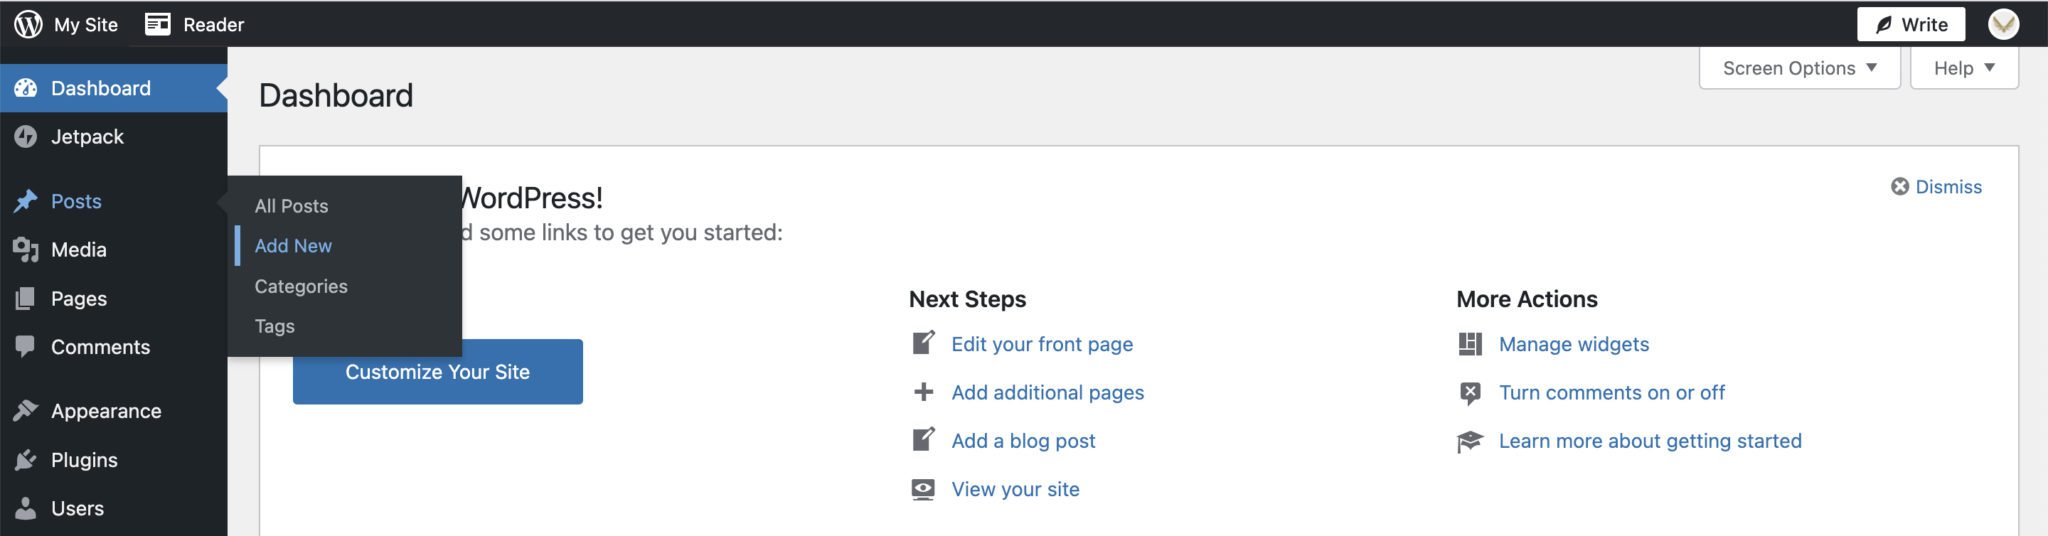
Step 1: Log in to WordPress
Log in to WordPress (www.YourDomain.com/wp-admin) with your Showit username and password to access your Dashboard.

Step 2: Compose your Blog Post
You can compose your blog post in a word-processing document and copy-paste it into WordPress. However, we recommend writing your blog post directly in the WordPress editor, Notes (on macOS systems), or Google Docs to avoid formatting issues.
Remember, longer content typically ranks better in Google. We recommend at least 1000 words, but more realistically, 1500 or more if you want your post to be competitive on the Search Engines.
Also, remember to use a structured title heading hierarchy (H1, H2, H3) to create a quality reading experience for your visitor and for the Search Engines to understand your page content.
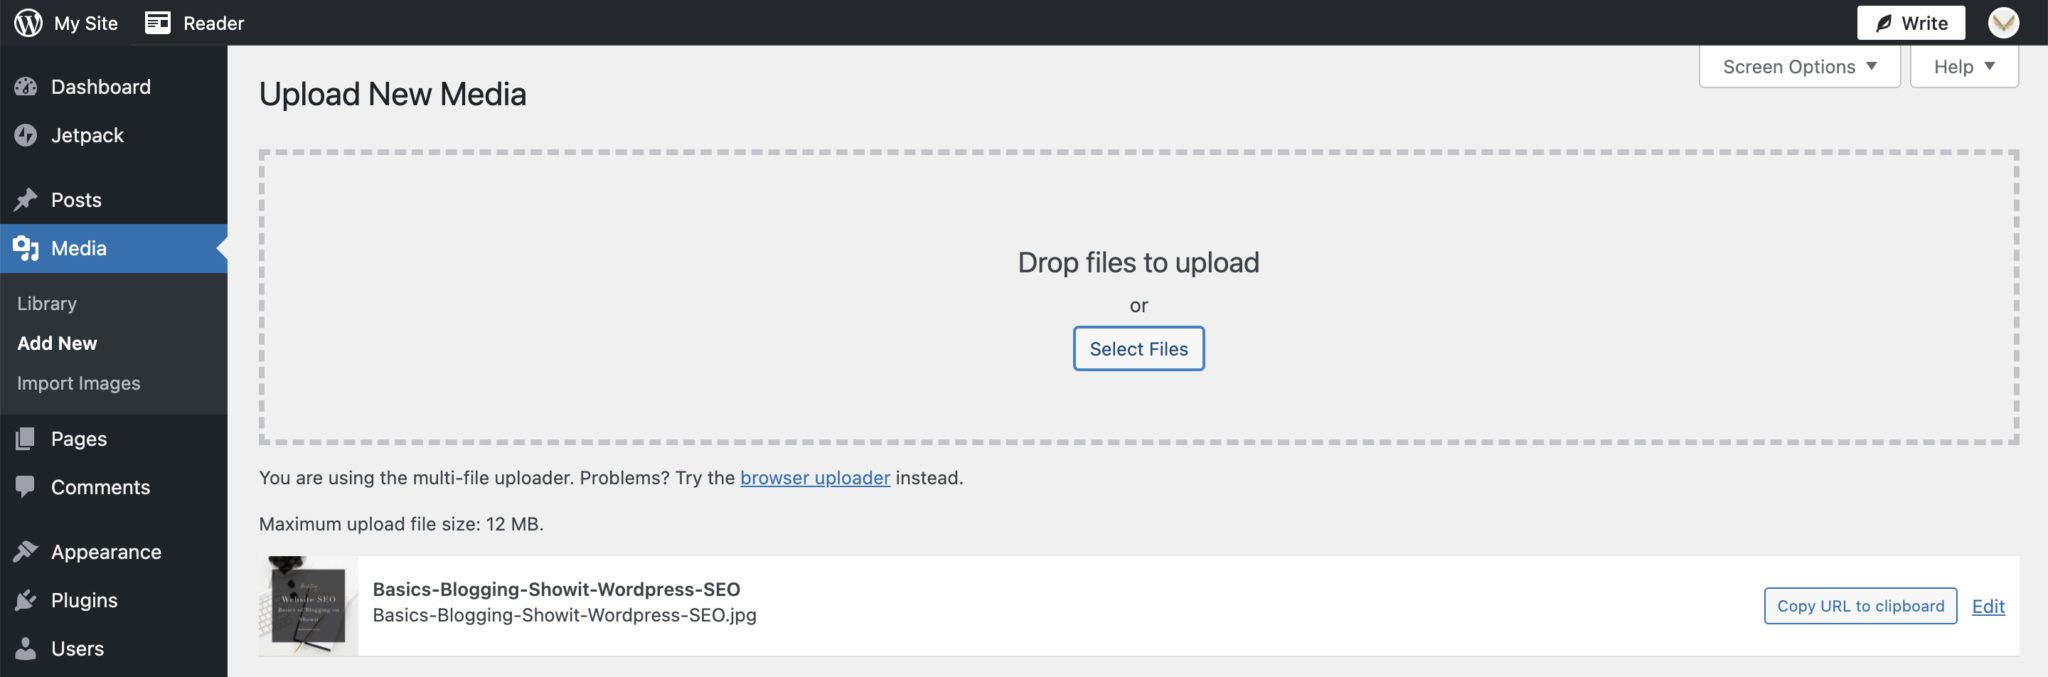
Step 3: Add Images
To add and optimize images on your Showit website blog for SEO,
- Resize images for an optimal loading time. It’s best to first resize images to 1200px on the longer edge. Then use a tool like TinyPNG.com on the web or a WordPress plugin for Image Compression. Your Showit subscription includes using Smush Plugin; once activated, you don’t need to take additional image compression-related actions for your blog images. An optimized image that loads faster with minimal page load speed provides a good user experience, which means more time for your website visitor to explore page content, consequently leading to improved SEO ranking for your Showit website.
- Use an SEO-friendly image filename. File names of your images should be descriptive (e.g., Branding-Website-Design-Studio versus IMG_12345-01). While you can and should use relevant keywords, it is ideal to restrict the filename to up to 5 words separated by a hyphen.
- Upload/Add your pictures to your WordPress Blog Media Library.
- Write Alt text (alternative text) for each image. ‘Alt Text’ represents the context of an image related to the content of a web page and displays on the page if the image fails to load on time, is read aloud to users by screen reader software in browsers using the ‘Accessibility’ features. A critical search engine ranking factor, the ‘alt-text’ is the image ‘description’ field within Showit.
- Select the appropriate image size from the ‘Image Size’ field (if in doubt, go with ‘Full Size’).

Step 4: Permalink
You can ignore the ‘Permalink’ field since it would be auto-generated according to your WordPress setting completed during the initial blog setup.
Step 5: Select or Add Blog Category
If we’ve designed your website, all relevant categories would be set up during the design phase, and all you would need to do is select the appropriate category for the blog you are composing. This serves as a filter for your website visitor to view posts under a specific category, consequently helping build your authority as an expert on that particular category.
Alternatively, you can create a new category by selecting ‘Add New Category.’ Do ensure you link the category page to the accurate category URL in ‘Click actions’ to prevent a 404 error.
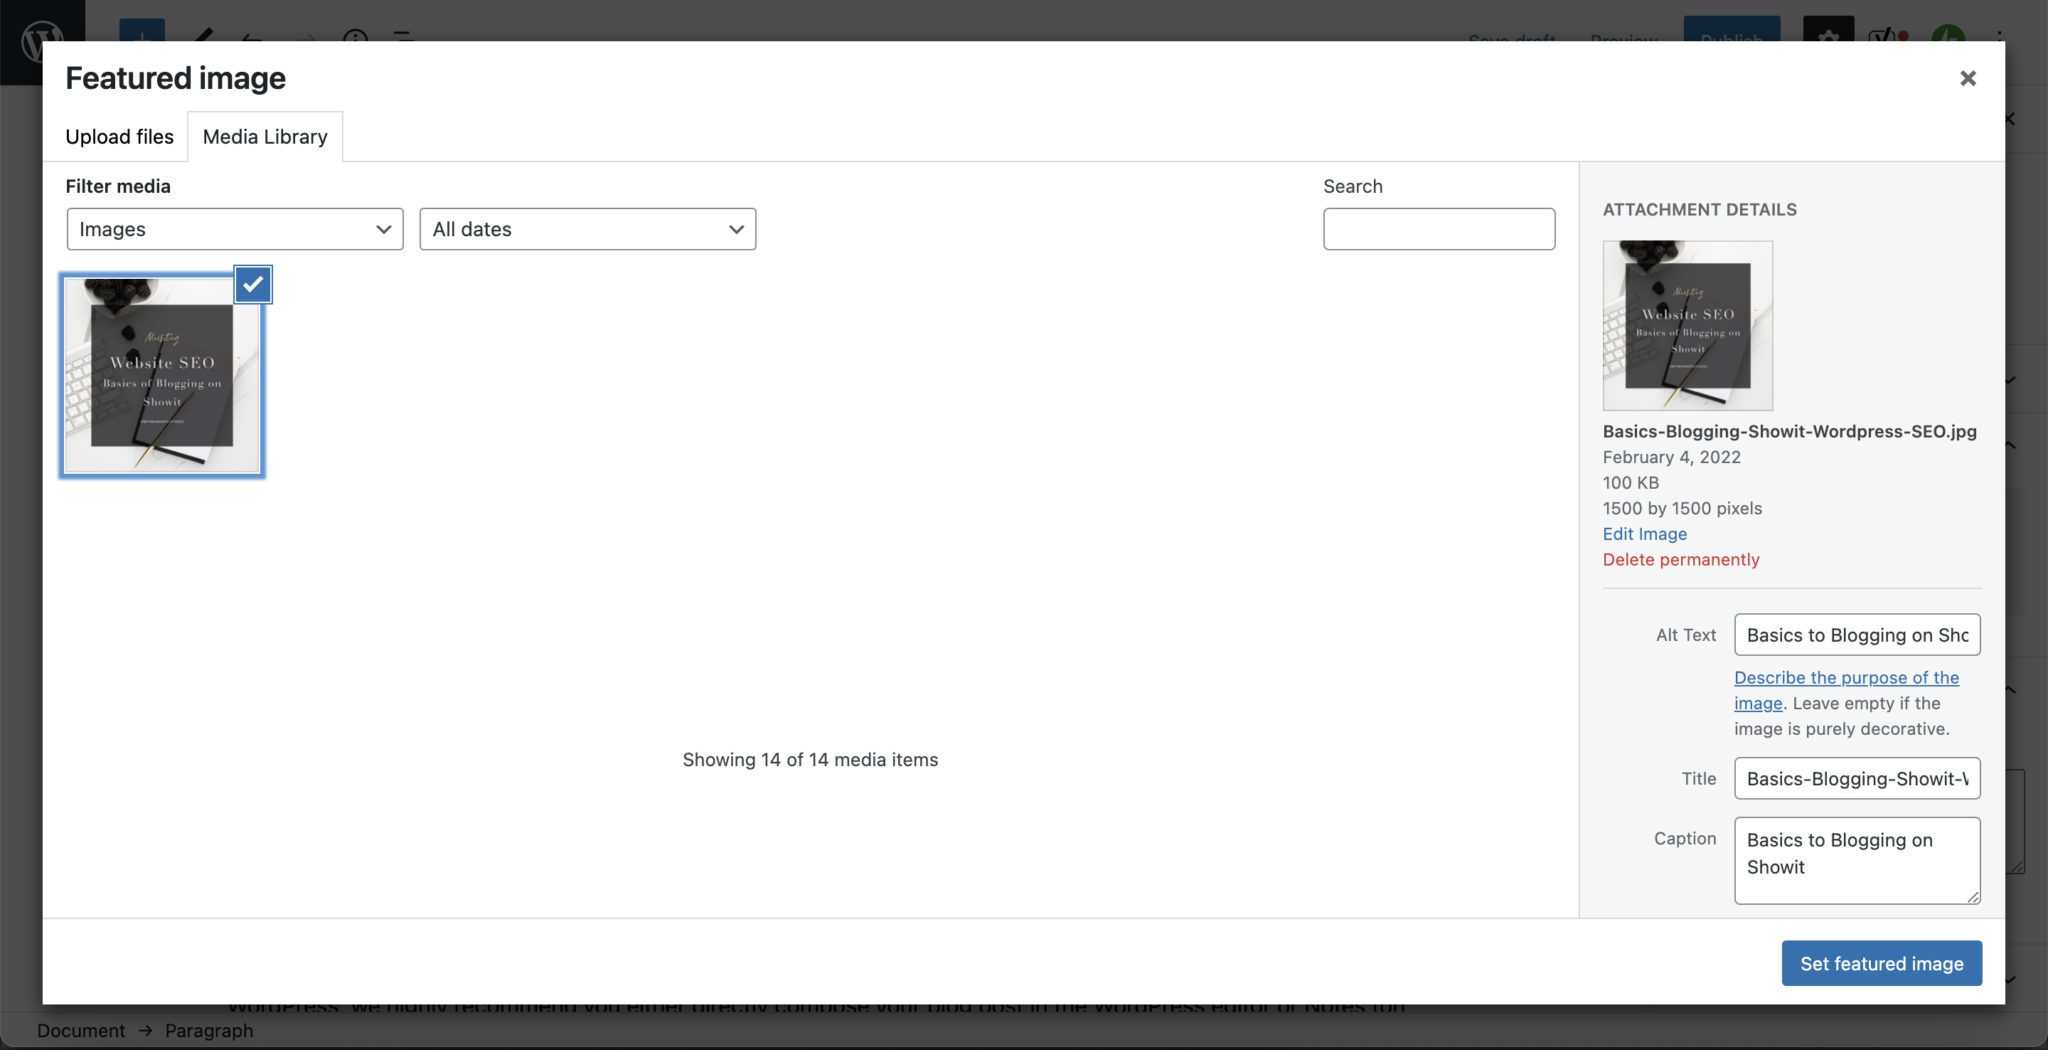
Step 6: Add a Featured Image
Unless you specifically upload the featured image, WordPress will consider the first image posted to your blog as the Blog Image, which may not be on-point for your brand.
A featured image appears on the Blog Index page, listing all your published blog posts. Remember that the featured image aspect ratio should be aligned to your website design while uploading to avoid formatting issues – don’t upload a portrait image when your Blog theme is set up for a landscape or square image orientation. Follow the same guidelines to upload a featured image as highlighted above.
Step 7: Add Blog Excerpt
Ideally, this should be a few sentences from your first intro blog post paragraph summarizing the post content. Alternatively, it can also be a convincing excerpt from your blog post encouraging your Showit website visitor to take action by clicking to read the entire post.

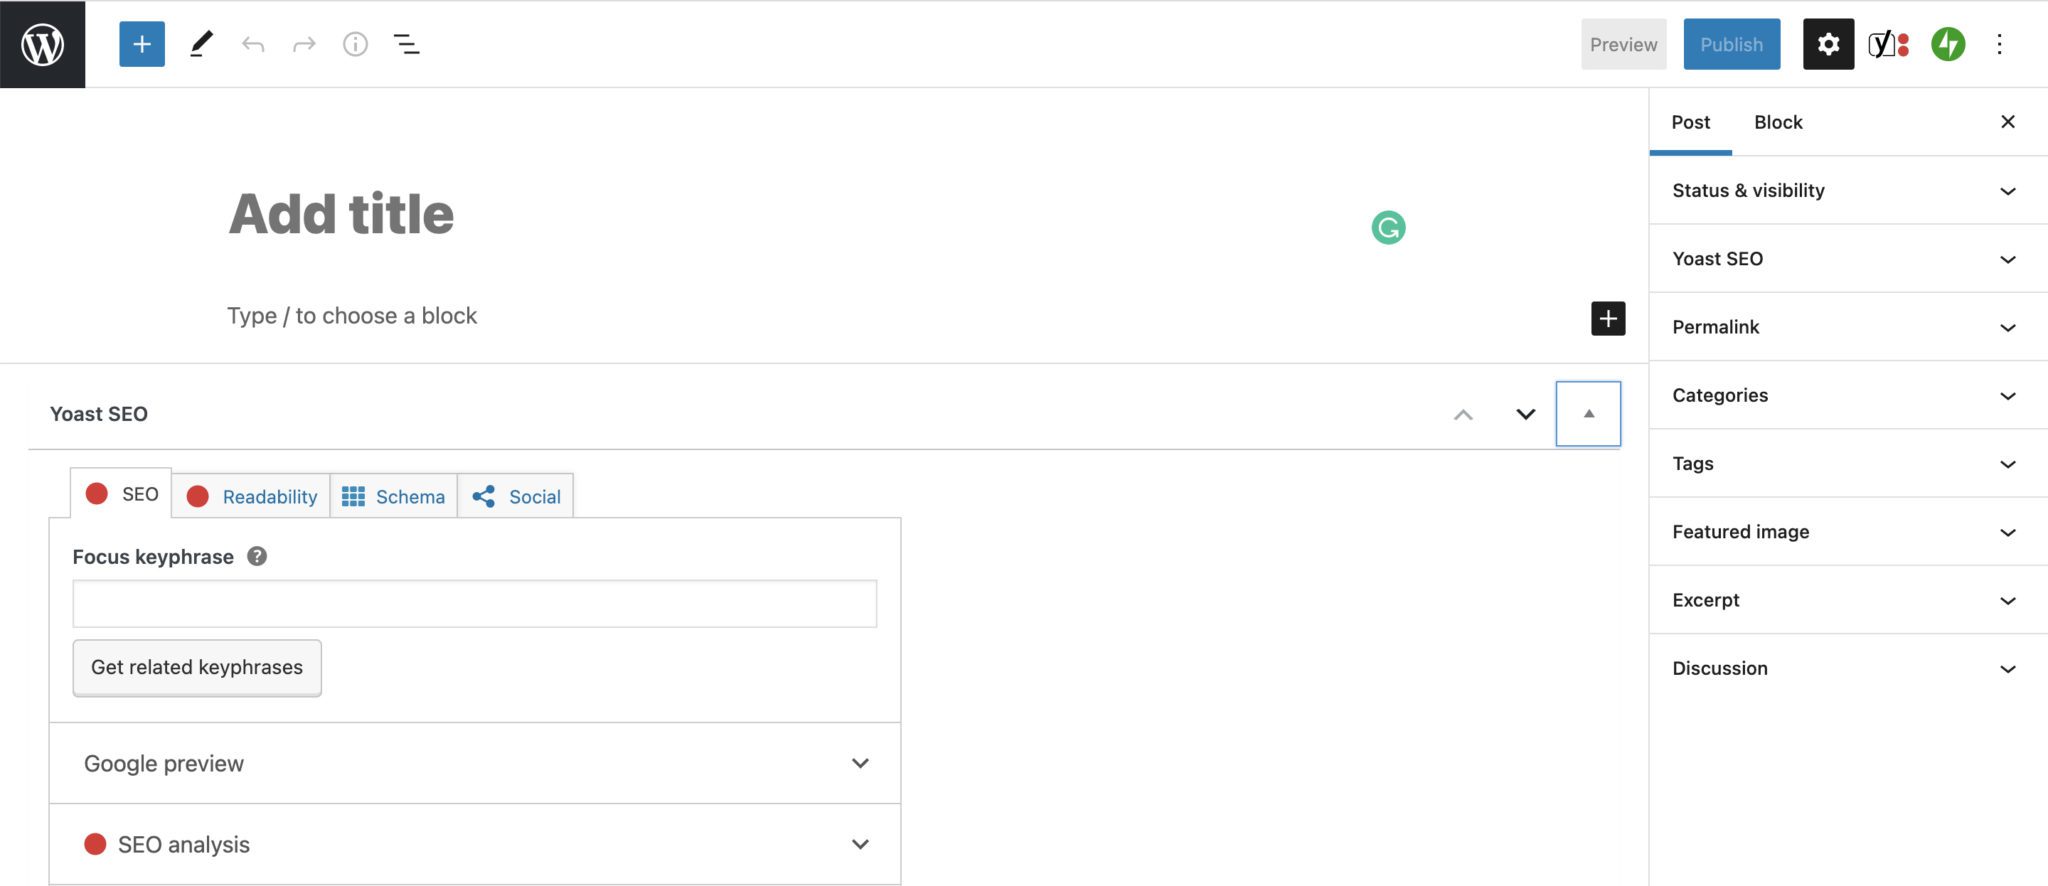
Optimizing your Showit website blog for SEO using ‘Yoast’
To optimize your blog post and website for SEO, Showit offers a built-in plugin, Yoast. It is an excellent way to ensure you’re getting all the significant search engine optimization opportunities with each blog post. The Yoast plugin appears in all your blog posts under the blog and evaluates your blog content on metrics such as readability, language and SEO.
These appear as red, yellow, or green traffic lights to show how well your post is optimized. We recommend using Yoast as a guide, not an exact science. For example – the “readability” metric will show red if you use too much passive voice. But if that’s how you have composed your blog tone of voice, your conversational tone will capture attention, and that’s okay! It’s all about ensuring your website has a good user experience. Lastly, ensure you fill in all the relevant fields to maximize your SEO potential – Focus keyphrase, SEO Title, Meta Description.

Essential SEO steps to remember for improved rankings when blogging on Showit include,
Keywords:
Ensure you are extremely clear on the keywords you want your blog post to rank for. Keyword density (the number of times you use the keywords in the post) should be between 1% to 3%. This includes your primary keywords, keyphrases, and supporting related keywords/phrases. Another must-have for good Showit SEO is using the keywords in your Blog Title, H1-H3 Heading Tags, SEO Title and SEO Meta description.
Use SEO-friendly URL:
Your WordPress blog post URL can be edited under Yoast ‘Slug’ settings and is derived from your blog post title. This is NOT your SEO title. Keep your blog post URL SEO-friendly by making it short, simple, readable, and ideally up to 5 words. Don’t forget to use relevant keywords in your Post Title and Slug.
SEO Title:
A results list appears as snippets whenever you search a term or phrase on a search engine. These snippets consist of your Page SEO Title and Meta description. You will find the SEO title field under Yoast settings. The purpose of SEO title is to help search engines understand your content in context to your keywords, invite clicks, and lead visitors to your website and read your post.
Meta Description:
A meta description is a piece of information about your blog post that appears in the search engine results below the title / URL of your page. It does not directly factor into your Search Engine Results Page (SERP) rank but influences whether a user clicks on the link to your page.
Focus Keyphrase:
The focus keyphrase is a phrase you want your post and Showit website to be ranked for on the search engines. Note: Since Google uses the Blog Post title to understand your post topic, the absence of your focus keyphrase in the blog post title may harm your SERP (Search Engine Results Page) ranking. Additionally, website visitors will be likelier to click on a search result closest to their search term/phrase. Therefore, add your focus key phrase at the beginning of the SEO title for best results.
Internal & External Links:
Internal links connect your entire website like a web page, where you interconnect your pages (pro-tip: Use keywords across your website content as descriptive anchor text linking to other web pages within your showit website). They also help distribute page authority and guide users to related content within your site, enhancing navigation and user experience. External links are hyperlinks that connect to webpages on other websites, providing your readers with additional valuable information. Use internal and external linking strategically to help your website visitor have an enhanced user experience, and your SEO will benefit.
Image SEO:
Refer to Step 3 and ensure your images are compressed, right-sized, and have keywords in their filename and alt text. Also, remember to assign a featured image to your blog, as listed in Step 6.
Step 9: Publish your Showit Website Blog Post
Always preview your post before publishing to see how it will look by clicking ‘Preview Changes.’
You can also publish immediately or set a specific date and time. That means you can schedule your blog posts in the future, automating the process! When your post is published, it will automatically populate your Showit blog design.
And that is all there is to publishing your post from scratch and optimizing your Showit website blog for SEO! Explore Demystifying Search Engine Optimization (SEO) for Showit Sites: You Wish You Knew Sooner and kickstart your journey to SEO success!
PS: Boost Your Showit—SEO Ranking with Must-have Checklist & Tools — Don’t miss the free workbook ‘Checklist for Showit—SEO Success‘ tailored specially for entrepreneurs!
Struggling with SEO-optimized blogging on your Showit Website? Explore Design Day and get expert help to optimize your Showit website blog for SEO.

Explore insights from industry experts Kurt and Kari daSilva on custom branding and SEO-optimized website design. Discover practical tips and innovative strategies to elevate your brand identity and enhance your online presence. Dive into the curated collection of articles to unlock the secrets of successful digital marketing and brand development.
© - Content and images in this blog are copyright of Empyrean Design Studio unless stated otherwise. Feel free to repost or share images for non-commercial purpose, but please make sure to link back to this website and its original post.
℗ - We do not store any information about your visit to our website other than for analytics and optimization for content and reading experience through the use of cookies.
$ - Our site does at times contain sponsored content, and/or affiliate links recommended only after use by us in our own businesses. If you click through and pay for a product, we’ll be compensated at no cost to you of course.
Reader Etiquette
insights you wish you knew sooner!